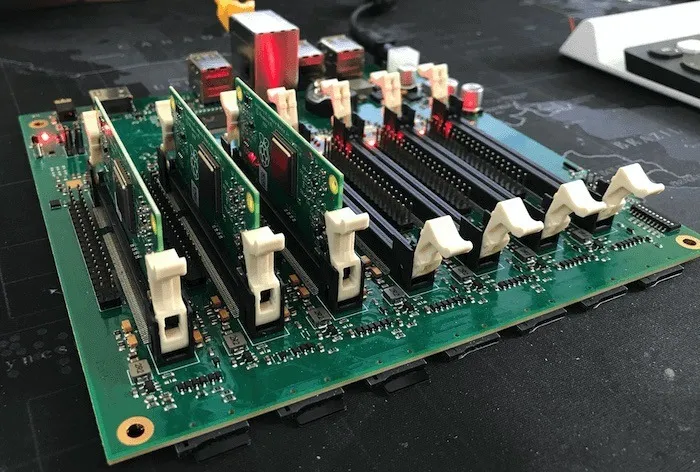
Building a Turing Pi 1 Web Server: Part 1
This is the first post in a two-part series about how to setup and run a secure webserver from your home using the Turing Pi 1 cluster board. Over both parts we will build from a collection of parts into a fully functioning server behind cloudflare with end-to-end SSL.
Getting Started with The Turing Pi 1
In this post we’ll discuss all the hardware and software I discovered I needed along the way towards building a relatively stable webserver using the Turing Pi 1 cluser board and an assortment of Raspberry Pi (RPi) Computer Module (CM) 3+’s. There is a ton of highsight I’m making use of here that’s the result of many iterations trying to get the cluster board working stably and the kubernetes setup working correctly. I still have some remaining, but eventually self-resolving, snags because my ISP is AT&T - your mileage may vary!
This post will be specifically about using the Turing Pi 1 (TP1), which is a little hard to acquire these days. Accordingly, instructions are pared down to yield a system that fits in 1GB of memory per node and rarely pages. I will include footnotes and short remarks that indicate alternative hardware options. I also assume some reasonable familiarity with networking concepts, and I try to use easily-googlable terms.
Hardware requirements
To start all of this off you will need:
- A Turing Pi 1 cluster board and a 60W DC power supply
- e.g. a 12V 5A DC brick or a pico-PSU
- 7 RPi CM 3 or later and one additional linux machine to host the kubernetes database.1
- The original RPi CM1 does not have enough memory to run the kubernetes client we are going to use.
- A network switch with 1-3 free ports.
- A desktop or laptop with a linux terminal to control the cluster from
- Optional - reduces memory pressure on server nodes.
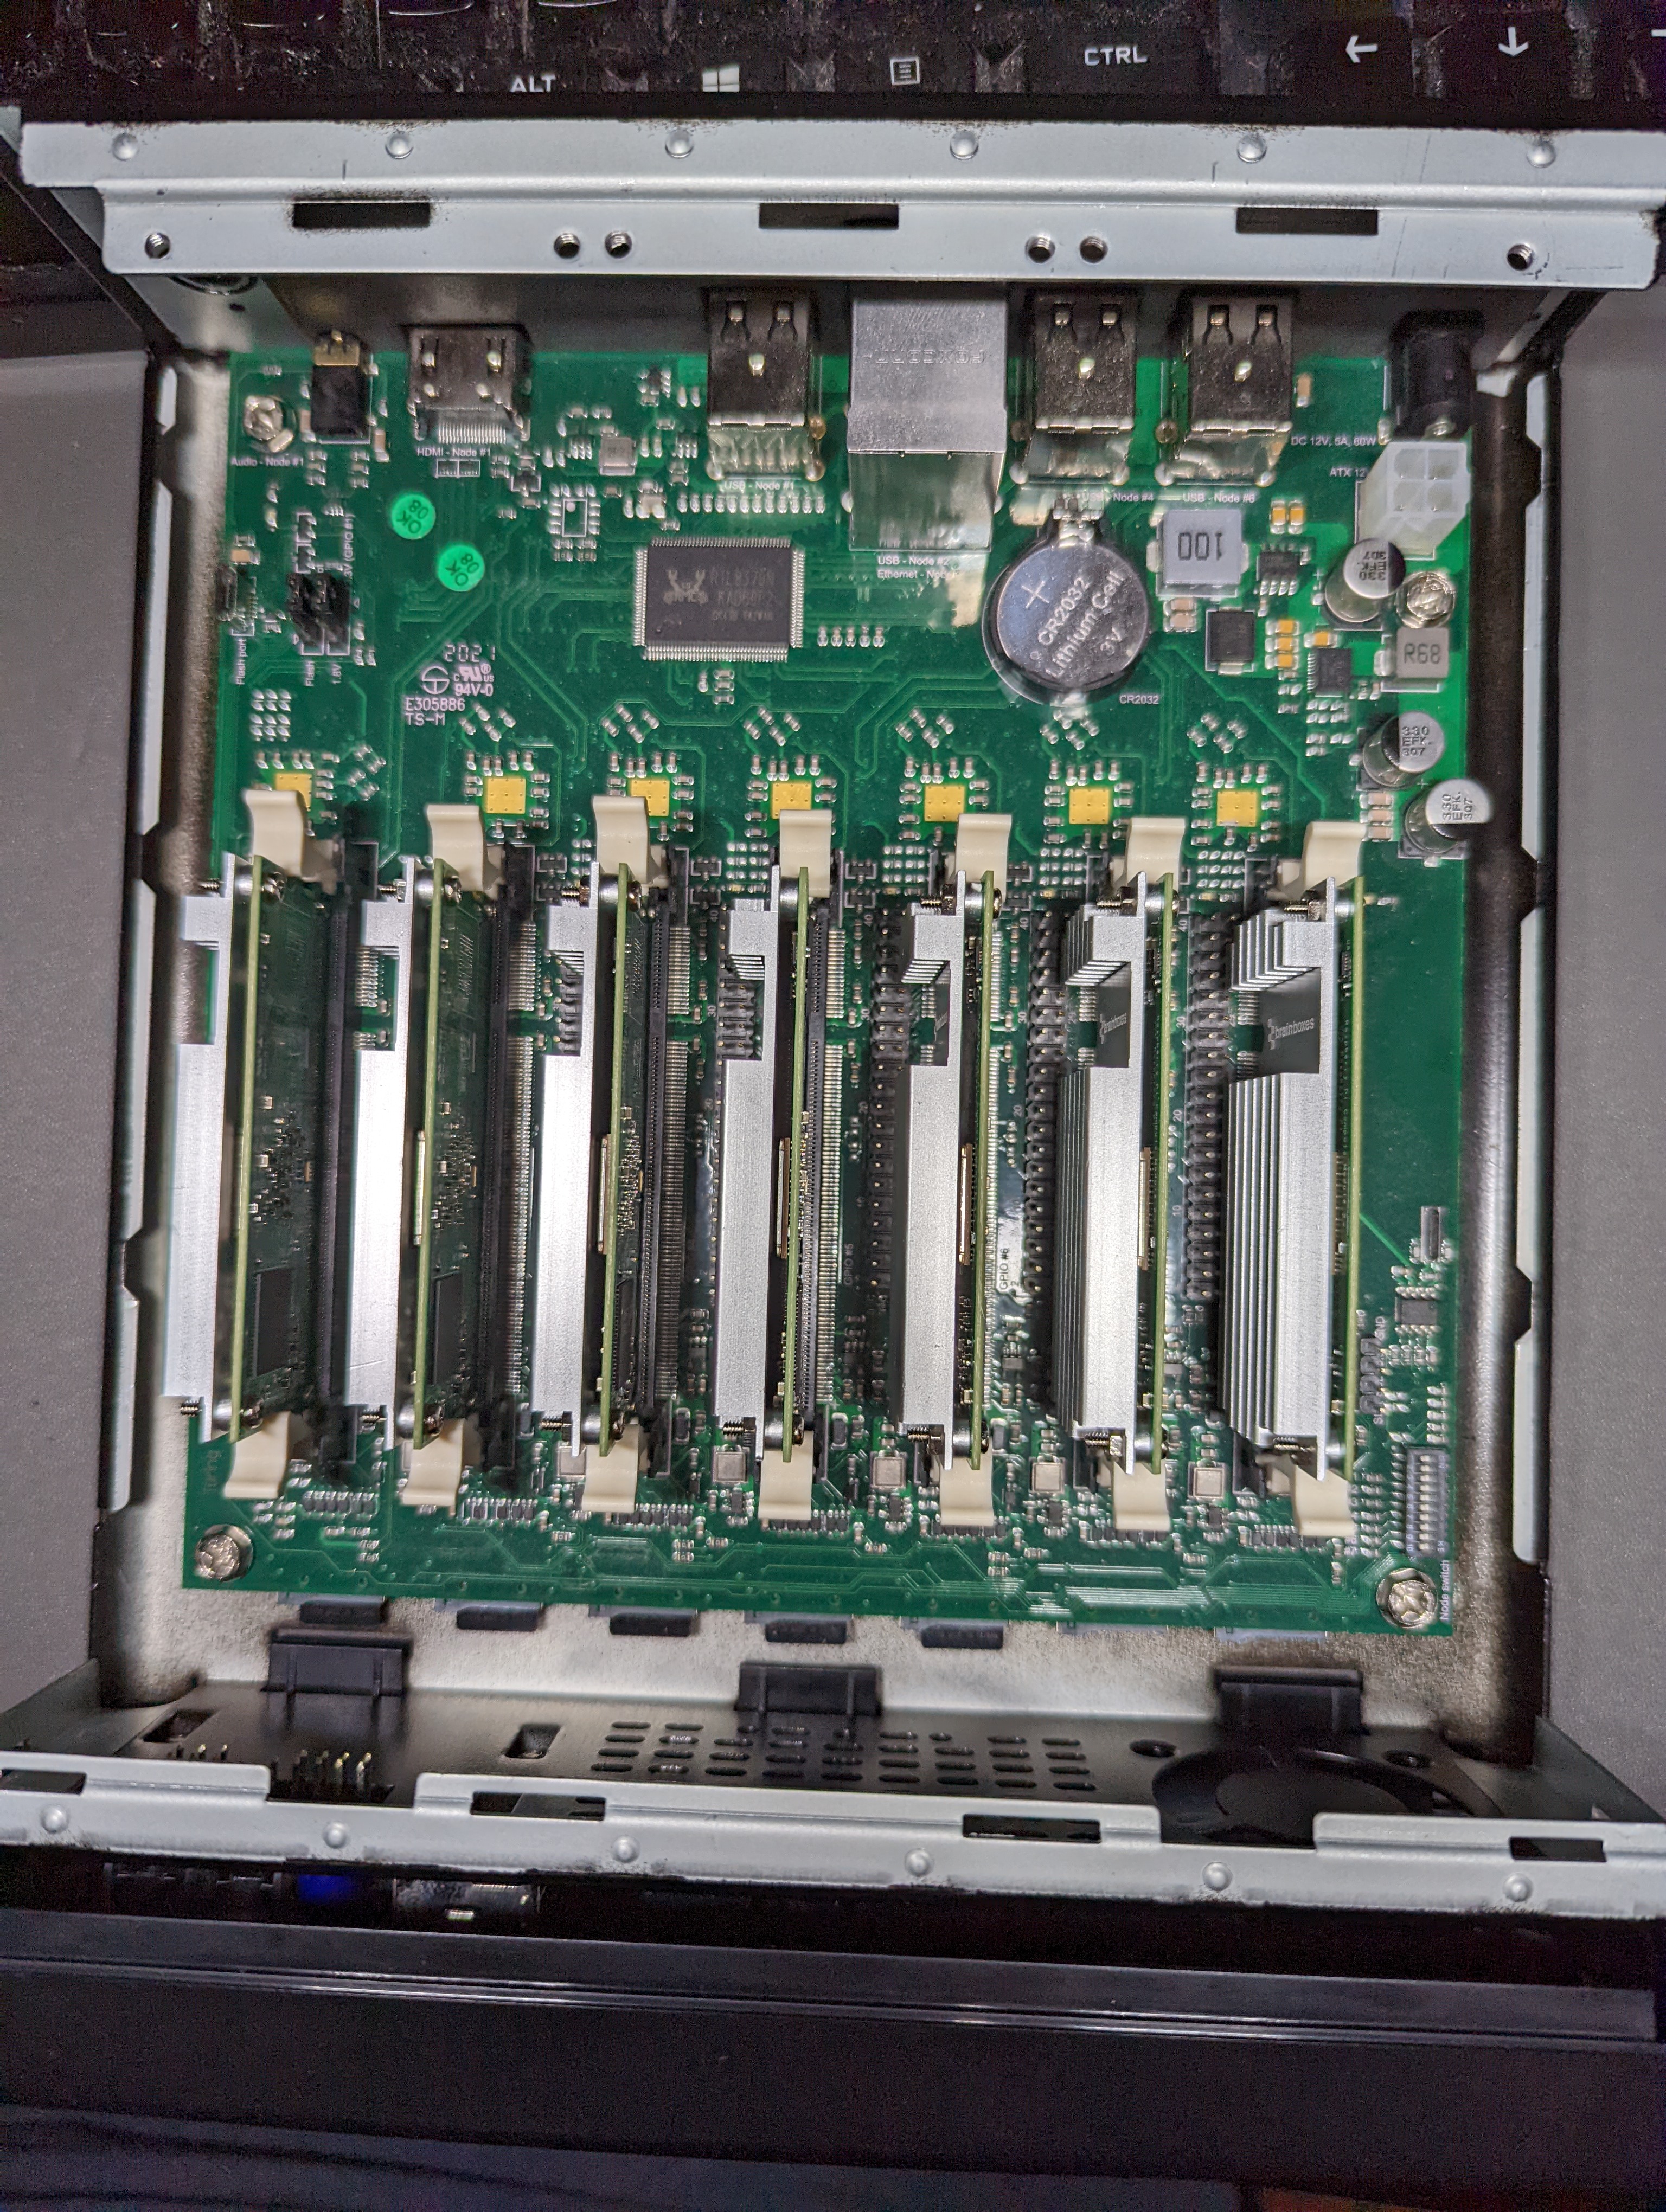
- Heatsinks for all of your RPis2
- Optional - significantly improved stability of cluster.
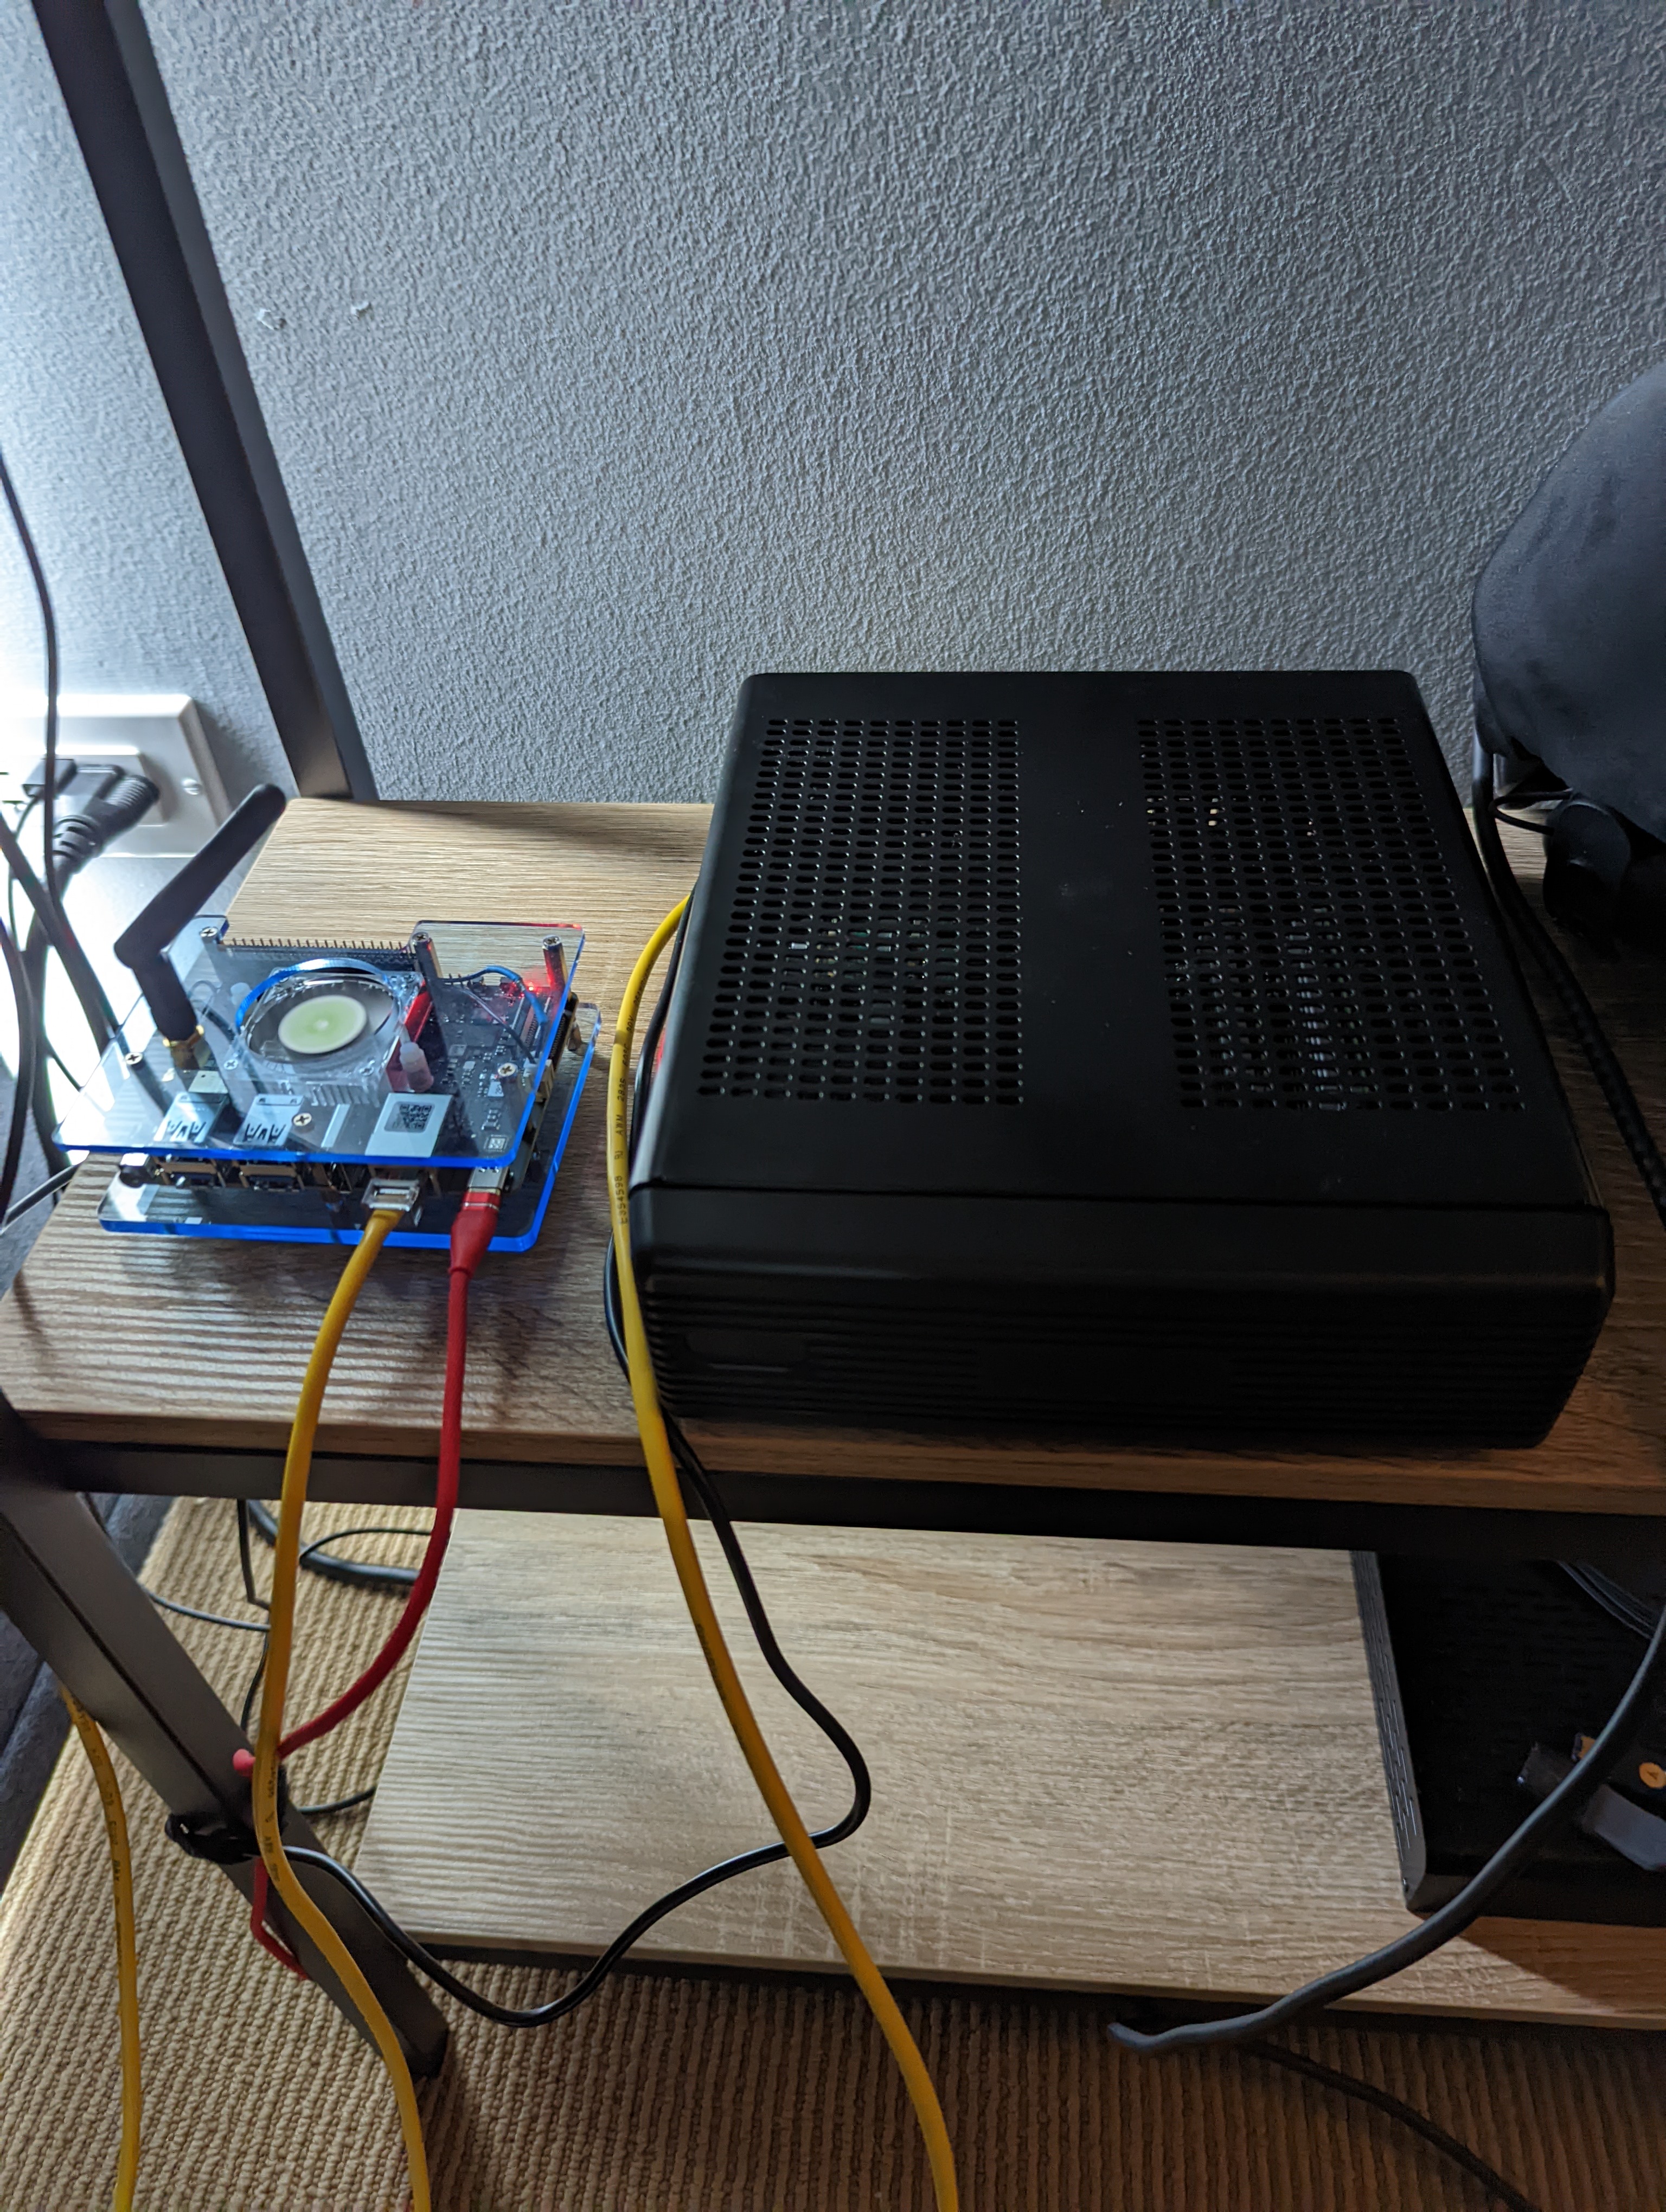
- A low profile mini-ITX case, and an i/o shield3
- Optional - just looks nice
The final setup I arrived at, using all alternative architectures (riscv and arm64), can be seen in Figure 1. The StarFive Vision Five SBC is a riscv machine running Debian Sid4 that hosts the kubernetes database and server proxy. I control this cluster from my desktop, which is a windows machine with Debian 11 running via Windows Subsystem for Linux.
If you do not have a TP1 you can run this setup with, minimally, 2x RPi 4B (4GB ram) or 3x RPi 2 (or newer).
Installing Linux and k3s on the Compute Modules
There are a variety of linux distributions for RPis these days each with communities of varying degrees. I made the choice of using DietPi since I’m using the RPis as servers and this distro is very minimal and aggresively kept up to date. Very important: For RPi CM3+’s (or anything after the RPi 2 v1.1) you can use the 64-bit build of DietPi. It is very much worth it to do so as a wider variety of helm charts docker images are available for arm64 as opposed to arm/v7.
Download the appropriate image and flash the operating system to each of the RPis you are running. If you are using the CM3 Lite this is faster to achieve using a micro-sd card reader, if your modules have eMMC5 you will need to flash each board separately in slot 1 of the TP1 with the jumper next to the micro-usb port on the TP1 board switched to “flash” instead of “boot”.
Insert each CM3 into an SO-DIMM slot on the TP1, set the jumper on the TP1 board back to “boot” if you moved it to “flash”, and power up the board. Use ssh to log into each compute module (look up their IPs in your router) and finish the install procedure for each RPi. Some post-install recommendations:
- Be careful to make sure that you are using OpenSSH as the ssh server on each RPi.
- The default on DietPi (Dropbear) has strange issues with scp and other non-trivial ssh operations.
- Set a unique hostname for each RPi (I just used pi1-pi7)
- Configure your router to either assign static IPs to your RPis or assign local-DNS hostnames to them.
- Otherwise your cluster is liable to randomly miss nodes.
- Make sure to turn off extraneous features like the serial port daemon since they just waste RAM and memory is very much a scarce resource in this environment.
Once one your installs of linux are up and running, setup passwordless ssh to each RPi. Doing this for a normal user preferable but root is also OK. Just don’t set it up for root for anything you open up to the internet for a long period of time; kubernetes does have bugs.
Installing k3s
There are a number of lightweight kubernetes distributions out there that offer a variety of levels of conformity with the standard and memory usage profiles. I tried out k3s and microk8s but the latter had some significant problems with paging even with no load on the server. k3s is a free and open source product from rancher and while it is not completely vanilla kubernetes it is standards compliant and extremely lightweight concerning memory use. It comes with a few options activated by default that we are going to turn off for better control over our kubernetes environment.
We will be using two nodes as kubernetes server nodes in this setup, attempting to create a high-availability kubernetes environment.
First, install kubectl and helm3 on the machine you wish to control the cluster from. If you intend to control the cluster from one of the RPi server nodes directly you can skip this step.
# install kubectl
curl -LO "https://dl.k8s.io/release/$(curl -L -s https://dl.k8s.io/release/stable.txt)/bin/linux/amd64/kubectl"
curl -LO "https://dl.k8s.io/$(curl -L -s https://dl.k8s.io/release/stable.txt)/bin/linux/amd64/kubectl.sha256"
echo "$(cat kubectl.sha256)  kubectl" | sha256sum --check
# make sure the output of the above line is "kubectl: OK"
sudo install -o root -g root -m 0755 kubectl /usr/local/bin/kubectl
# install helm3
curl -fsSL -o get_helm.sh https://raw.githubusercontent.com/helm/helm/main/scripts/get-helm-3
chmod 700 get_helm.sh
./get_helm.sh
Second, on the machine that will serve as the external database, setup postgres6 and setup a database for the kubernetes cluster. Make sure the postgres port is exposed on your network so your k3s server can talk to it. On my debian machine this looks like:
sudo apt install -y postgresql postgresql-contrib
# wait for it to install
sudo su - postgres -c "createuser k3s"
sudo su - postgres -c "createdb k3sdb"
sudo echo "host       k3sdb          k3s            0.0.0.0/0                md5" >> /etc/postgresql/14/main/pg_hba.conf
sudo echo "hostssl       k3sdb          k3s            <first-server-ip>/32                md5" >> /etc/postgresql/14/main/pg_hba.conf
sudo echo "hostssl       k3sdb          k3s            <second-server-ip>/32                md5" >> /etc/postgresql/14/main/pg_hba.conf
sudo -u postgres psql
# within the postgres command prompt:
> ALTER USER k3s WITH PASSWORD '<your-db-password>';
> GRANT ALL PRIVILEGES ON DATABASE k3sdb TO k3s;
> \q
Be sure to replace <first-server-ip> and <second-server-ip> with the actual IPs of the nodes you want to use as the servers.
We’ll also need to setup a round-robin proxy so that we have a single point of entry to the servers. In debian this looks like:
sudo apt install nginx
sudo cat << EOF >> /etc/nginx/nginx.conf
stream {
  upstream k3s_servers {
    server <first-server-ip>:6443;
    server <second-server-ip>:6443;
  }

  server {
    listen 6443;
    proxy_pass k3s_servers;
  }
}
EOF
sudo systemctl restart nginx
Finally, we can proceed to installing k3s on the cluster. First create a scripts to install and uninstall k3s on your nodes. The examples below disable the automatic install of servicelb and traefik
Here’s what the install script looks like, make sure to edit:
#!/bin/bash
K3S_TOKEN="<some-unique-token>"
PROXY_IP="<your-proxy-ip>"
ACCOUNT="<your-preferred install account>"

SERVERS="<a space-separated list of all your server nodes>"
AGENTS="<a space-separated list of all your worker nodes>"

for server in $SERVERS
do
    ssh -l $ACCOUNT $server "curl -sfL https://get.k3s.io | INSTALL_K3S_CHANNEL=latest K3S_TOKEN=$K3S_TOKEN sh -s - server --disable servicelb --disable traefik --datastore-endpoint='postgres://k3s:<your-db-password>@<your-db-ip>:5432/k3sdb' --node-taint CriticalAddonsOnly=true:NoExecute --tls-san $PROXY_IP"
done

for node in $AGENTS
do
    ssh -l $ACCOUNT $node "curl -sfL https://get.k3s.io | INSTALL_K3S_CHANNEL=latest K3S_TOKEN=$K3S_TOKEN sh -s - agent --server https://$PROXY_IP:6443"
done
Here’s the uninstall script:
#!/bin/bash
SERVERS="<a space-separated list of all your server nodes>"
AGENTS="<a space-separated list of all your worker nodes>"
ACCOUNT="<your-preferred install account>"

for agent in $AGENTS
do
    ssh -l $ACCOUNT $agent "/usr/local/bin/k3s-agent-uninstall.sh"
done

for server in $SERVERS
do
    ssh -l $ACCOUNT $server "/usr/local/bin/k3s-uninstall.sh"
done
Run the install script and wait for it to complete.
Next, ssh into each of your servers and open /etc/rancher/k3s/k3s.yaml, edit the line that starts with server: ... to use your proxy’s IP address instead of localhost.
From either of your servers copy that file to a local .kube/config location, at the root of your home directory is suitable or anywhere else is fine if you have multiple clusters you want to administer differently. I made a few aliases for kubectl and helm for my k3s cluster to avoid polluting my environment7:
alias k3sctl="kubectl --kubeconfig <the-path-to>/.kube/config"
alias k3shelm="helm --kubeconfig <the-path-to>/.kube/config"
With that done, including the aliases above, check your cluster is functioning:
k3sctl get all --all-namespacesand you should see a list of essential pods and deployments in the kube-system namespace.
This concludes part one of this series on setting up the Turing Pi 1 cluster board as a webserver using kubernetes.
Footnotes
-
I found that when running with all RPi 3’s it was much more stable to use an externally hosted database so you will optionally need an additional linux machine (could be a VM or container on your desktop) to run postgres. We’ll talk about that detail later. ↩
-
I used the Brainboxes MK-923, which required some careful modding of the TP1 but works exceptionally well. ↩
-
I used the Mini-Box M350, and this i/o shield ↩
-
I rolled my own Debian Sid for this riscv machine, which I will cover in another post. It’s a little involved. ↩
-
Note that eMMC and micro-sd are mutually exclusive on the CM3, you cannot boot an eMMC-fitted card from micro-sd. ↩
-
You can also opt to use mysql, mariadb, or an external etcd instance. ↩
-
There are smarter ways to do this for large scale production clusters, we are not at that level. ↩