
Building a Turing Pi 1 Web Server: Part 2
This the second in a two-part series starting from the first post describing how to setup your TP1 using k3s with high availability and an external database. By the end of this post you should have a functioning and secured static website.
Deploying necessary services for a well-managed web server
There are a number of factor to consider when building a webserver on resource constrained devices like Raspberry Pi 3’s. First and foremost that that not only will the devices not handle a sustained attack very well, and neither will your home network. Therefore, anonymity is your friend and you should do your best to make it difficult to associate your website’s DNS name with your home network’s public IP. Modern certificate signing and encryption services make this easy, especially when combined with free proxy services like cloudflare. These are external to the cluster configuration itself but absolutely critical to maintaining your security and privacy. Getting hacked and/or DDOSed is not fun and people will do it for no reason at all.
With that, let’s begin! The first thing you’re going to need is a domain which you can easily get from one of the many registrars that exist on the internet these days. I used GoDaddy1 which has some convenient features for domain shopping in case you choose a popular name. Follow the instructions for buying a domain there. Do not buy any of the addons for hosting, email, etc.; keep your spending to a minimum. Do not add your external IP address to the DNS record right now as that will allow your home IP to be directly associated with your domain. We will setup DNS from cloudflare.
Setting up Cloudflare
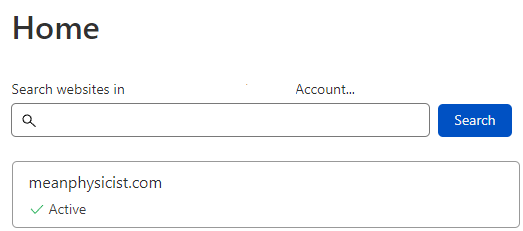
Create an account with cloudflare, log in, click the “Websites” button and then click “Add a Site”. Enter the domain name you’ve registered and when you’re done you should end up with a cloudflare homepage that looks like Figure 1. During this configuration you will come across an option to rewrite all HTTP requests to HTTPS, enable it.
Click on the button for your domain then click on “DNS” in the sidebar. For the A record in the DNS page, you need to enter your external home IP address2, at the end of this process your DNS record should look something like Figure 2.
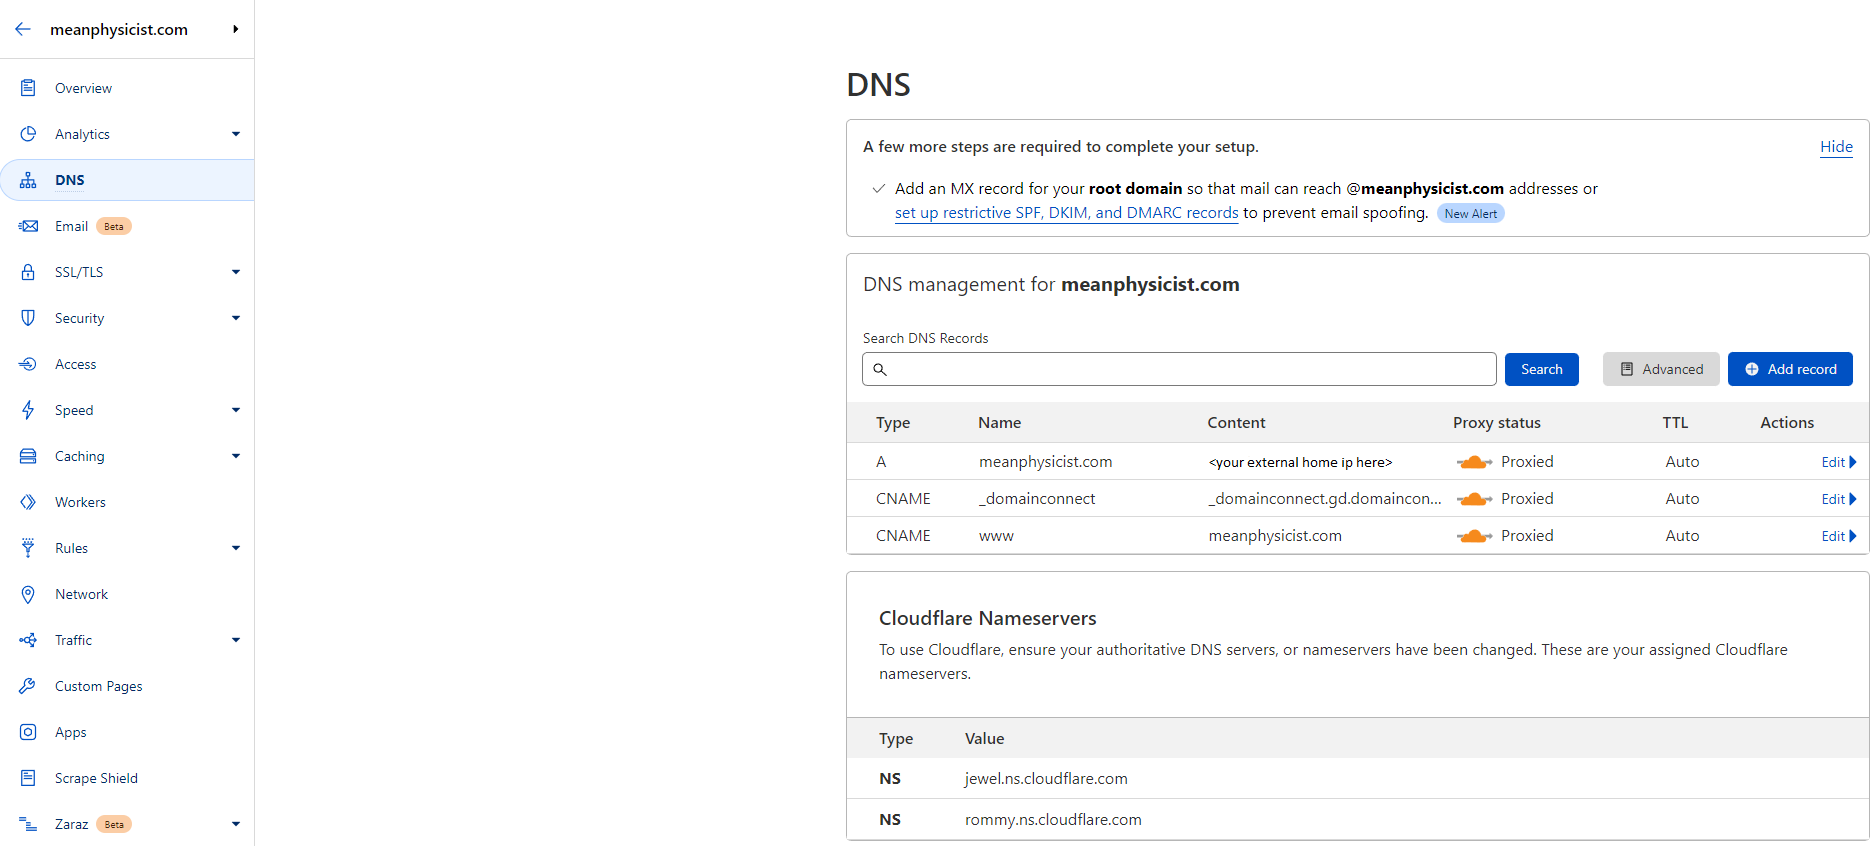
If you check the public DNS records a bit later once they have updated (just wait like 30 minutes) you’ll find that the public DNS record’s A IP does not match your home IP since cloudflare is proxying all traffic for you. This is expected and preserves your privacy.
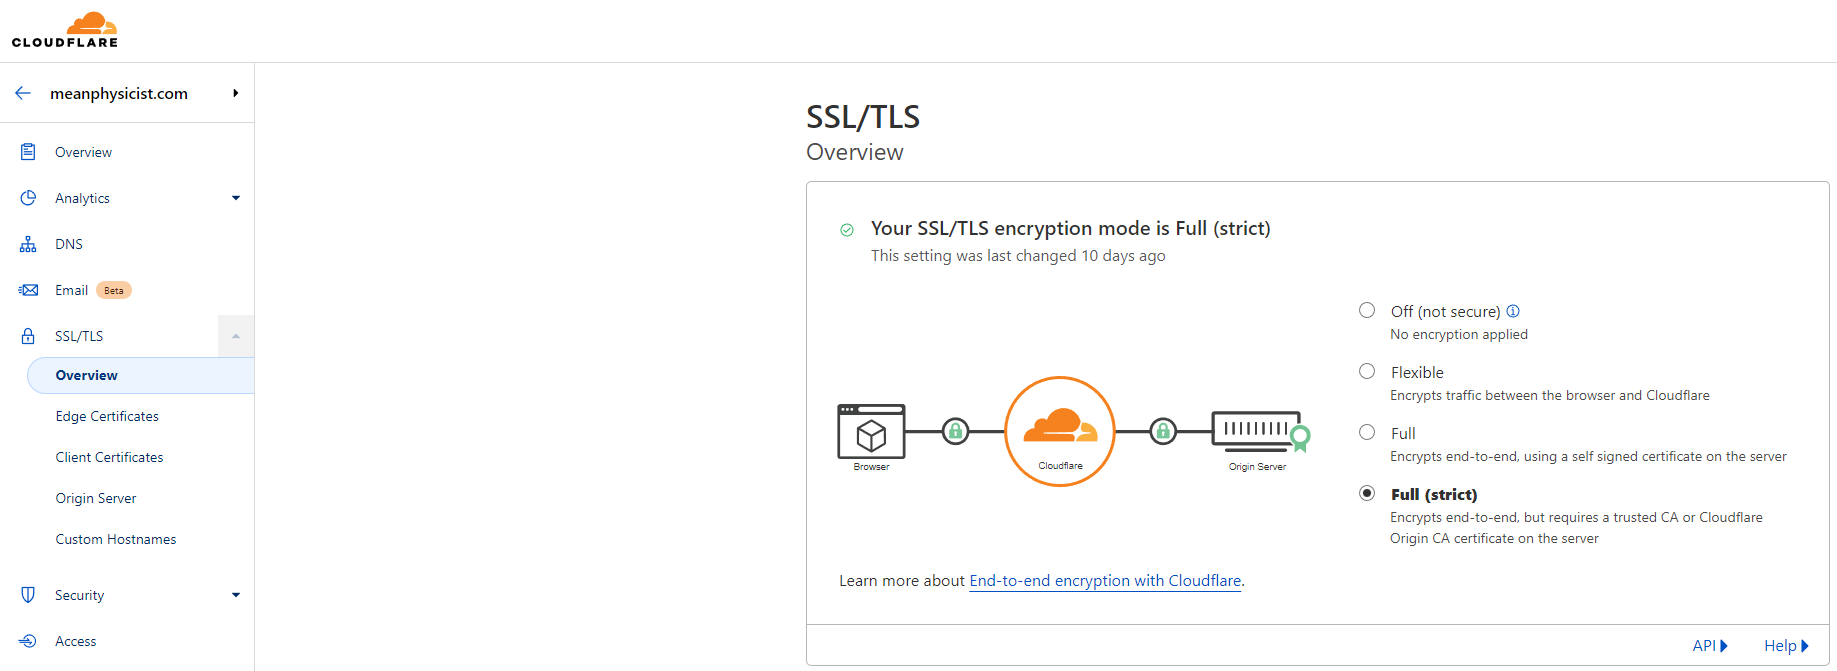
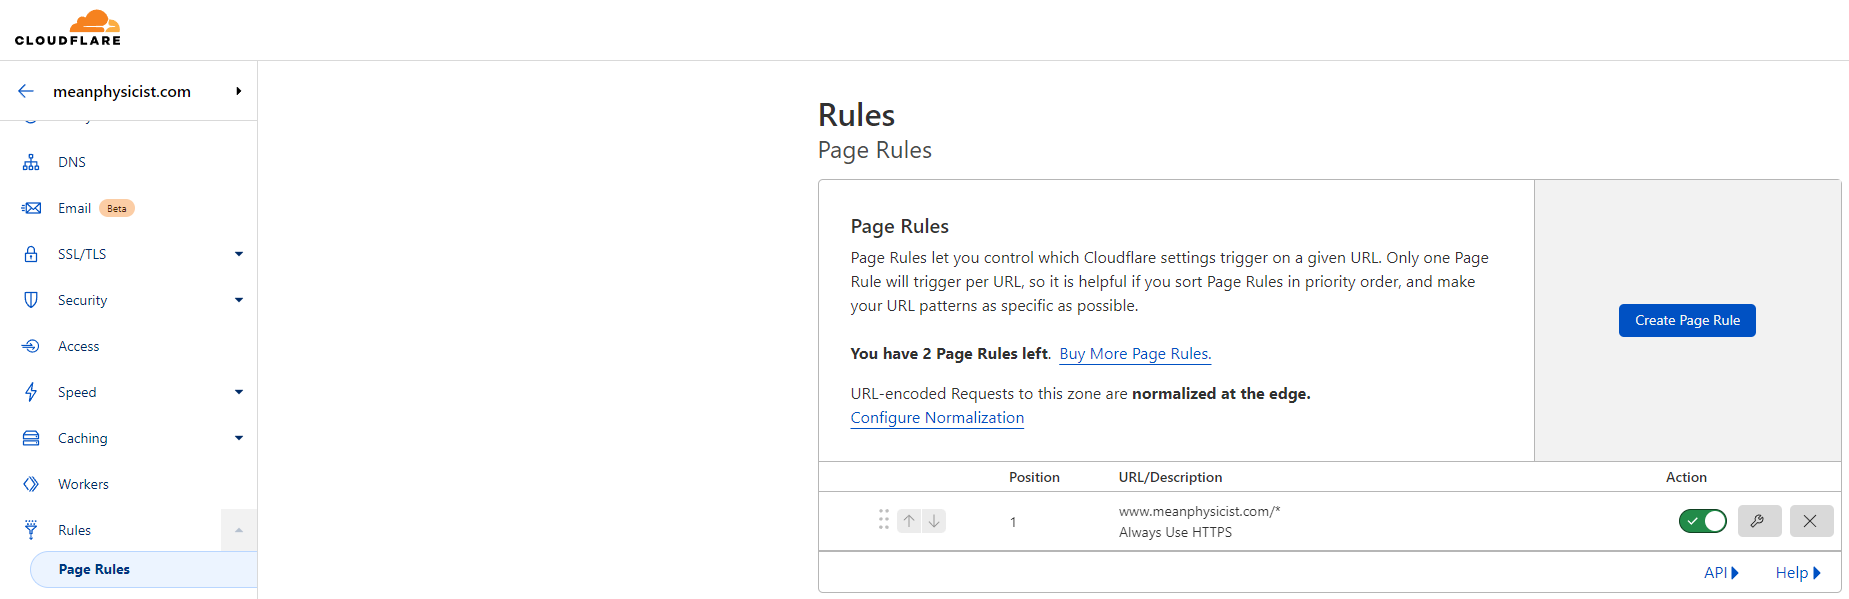
This isn’t the end of the story with cloudflare, since its default settings only encrypt the traffic between someone’s web browser and the proxy leaving traffic from the proxies to your home IP unencrypted. A sufficiently clever person could figure this out to observe the unencrypted data stream, and we don’t want that! In order to ensure it is never the case that SSL is not being used, go to the “SSL/TLS” tab in the cloudflare sidebar and change the “encryption mode” from “Flexible” to “Full (strict)” (see Figure 3 left). This forces cloudflare to encrypt the datastream to your home server. Similarly, before we continue setup of the cluster we should force cloudflare to rewrite all requests to HTTPS and never use HTTP. You can see and example of how that should look in Figure 3 right.
With these settings in place our website should be fairly secure against people snooping around, and should keep your data and home IP secure. Now we can start preparing the server.
Installing requisite helm charts
For this server setup we will use:
- cert-manager to request and manage SSL certificates
- metallb for a self-hosted load balancer
- traefik-proxy for managing hosts and proxying services
- longhorn for persistent distributed volumes3
Luckily, installing all of this is incredibly easy with modern support and helm charts. We only have to provide a few pieces of specialization to get the substrate we’ll need.
If you recall from the last post, I made aliases k3sctl and k3shelm for kubectl and helm that point to our TP1 cluster.
Before we start pushing things into the cluster let’s add the appropriate repositories to our local helm setup:
k3shelm repo add jetstack https://charts.jetstack.io
k3shelm repo add metallb https://metallb.github.io/metallb
k3shelm repo add traefik https://helm.traefik.io/traefik
k3shelm repo add longhorn https://charts.longhorn.io
k3shelm repo update
If you are using a RPi 3 setup (and only do this if you are using RPi 3’s or 1 GB RPi 4, models with more memory do not require this) start by making your server nodes unschedulable. It is very easy for an errant pod to land on your RPi 3 server node, cause it to page for an eternity, and degrade your cluster. Do so by using the following command:
k3sctl cordon <server-one> <server-two>First we’ll install cert-manager:
k3sctl apply -f https://github.com/cert-manager/cert-manager/releases/download/v1.9.1/cert-manager.crds.yaml
k3sctl kustomize "github.com/kubernetes-sigs/gateway-api/config/crd?ref=v0.4.1" | k3sctl apply -f -
k3shelm install \
  cert-manager jetstack/cert-manager \
  --namespace cert-manager \
  --create-namespace \
  --version v1.9.1 \
  --set "extraArgs={--feature-gates=ExperimentalGatewayAPISupport=true}" \
  --set prometheus.enabled=false
Second we’ll install metallb, this requires a special namespace definition and a little customization to create the IP ranges for your load balancer endpoints.
Create a yaml file to define the metallb namespace, which requires priviledged access for some pods, as follows (I called it metallb-namespace.yaml):
apiVersion: v1
kind: Namespace
metadata:
  labels:
    pod-security.kubernetes.io/audit: privileged
    pod-security.kubernetes.io/enforce: privileged
    pod-security.kubernetes.io/warn: privileged
  name: metallb-system
Create the endpoint IP range definitions as follows (I called it metallb-config.yaml):
apiVersion: metallb.io/v1beta1
kind: IPAddressPool
metadata:
  name: network-services
  namespace: metallb-system
spec:
  addresses:
  - 192.168.2.1-192.168.2.254
  autoAssign: true
---
apiVersion: metallb.io/v1beta1
kind: L2Advertisement
metadata:
  name: network-services
  namespace: metallb-system
spec:
  ipAddressPools:
  - network-services
Note that this file is not a values file and we will apply it later! I have chosen to use IPs 192.168.2.1 through 192.168.2.254 as endpoints, but you can configure this however you like so long as it doesn’t clash with DHCP and is routable on your home network.
Now we can install metallb succintly as follows:
k3sctl apply -f metallb-namespace.yaml
k3shelm install metallb metallb/metallb --namespace metallb-system
# watch k3sctl get pods -n metallb-system until all pods are in "Running" state and then execute:
k3sctl apply -f metallb-config.yaml
Next we will install traefik:
This install is quite straightforward and requires no customization.
k3shelm install traefik traefik/traefik --namespace=traefik-system --create-namespaceWatch k3sctl get all -n traefik-system and wait for the traefik pods to come into the running state and make sure that the traefik service has successfully acquired an external IP address. It should look something like once complete:
user@DESKTOP-K5CAEEG:~/hobbies/turingpi1$ k3sctl get all -n traefik-system
NAME                          READY   STATUS    RESTARTS   AGE
pod/traefik-f89df87d4-wrvn9   1/1     Running   0          40h
pod/traefik-f89df87d4-l6hdc   1/1     Running   0          40h

NAME              TYPE           CLUSTER-IP     EXTERNAL-IP   PORT(S)                      AGE
service/traefik   LoadBalancer   10.43.225.86   192.168.2.1   80:32393/TCP,443:30923/TCP   40h

NAME                      READY   UP-TO-DATE   AVAILABLE   AGE
deployment.apps/traefik   2/2     2            2           40h

NAME                                DESIRED   CURRENT   READY   AGE
replicaset.apps/traefik-f89df87d4   2         2         2       40h
Finally let’s install longhorn with an ingress for its internal webpage:
We’ll need to specify a small amount of customization via the helm chart’s values. Make a file called longhorn-values.yaml and fill it with the following content:
ingress:
  enabled: true
  host: longhorn.192.168.2.1.nip.io
You’ll notice here we use nip.io which is a handy tool for creating DNS names on your local network without much fuss. It is very helpful for keeping track of all your kubernetes services and you can put them behind SSL if you find the need. Note: the ip address in the name should match the external-ip your traefik service was assigned, do not copy/paste my example exactly unless you have chosen the same parameters.
Then we can install longhorn by invoking helm as follows:
k3shelm install longhorn longhorn/longhorn --create-namespace --namespace longhorn-system -f longhorn-values.yamlThe helm command will return quickly but the cluster setup will take several minutes to complete and then settle.
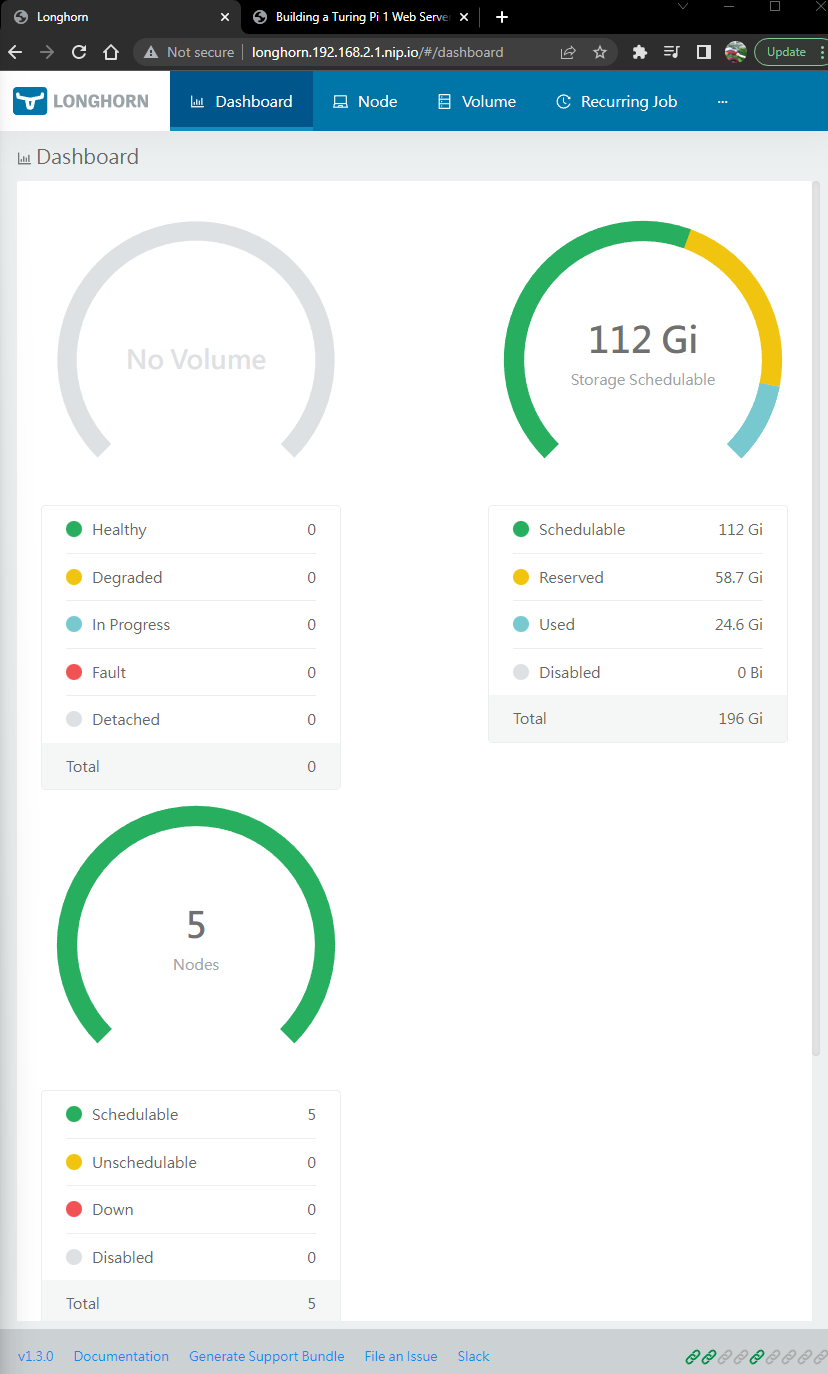
Once you see all pods in the longhorn-system namespace in the Running state you should be able to navigate to “http://longhorn.192.168.2.1.nip.io/” and see your aggregated storage. It should look something like Figure 4.
Once all of these services are setup you are ready to build and deploy your website.
Building and deploying a website securely using Letsencrypt
In this final section we will get an HTTPS secured webserver accessible from the internet. I will not cover designing the website or its content beyond saying that I used jekyll to construct this website and build my own docker image on top of nginx for the container. To do this you will need a dockerhub account and docker installed on your desktop or laptop. Don’t try to build docker images on your Rpis, it will be slow and painful.
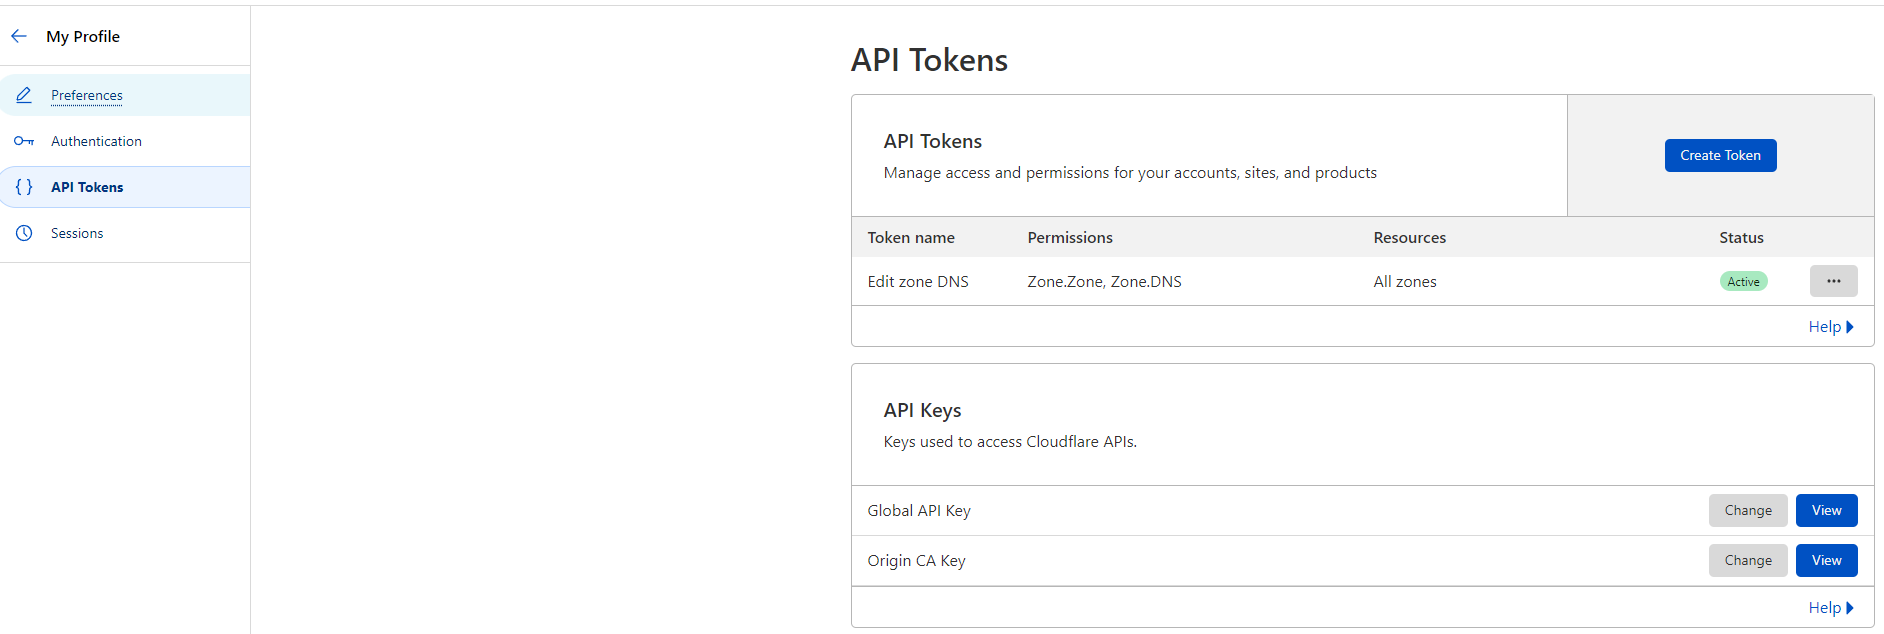
You will also need to setup an api key on cloudflare, from the “Overview” tab of the cloudflare panel for your website, scroll down and click “Get your API token”, and then create a token with the permissions shown in Figure 5.
Record the api token in a temporary text file.
Finally, we will be using letsencrypt.org to sign certificates for our website. It is a free service with minimal signup beyond specifying your email address to get a certificate.
Create a directory (I just called it website) to hold the configuration files for the various parts of the serving infrastructure for the website.
To start create a namespace for everything website related to exist in:
k3sctl create ns web-servicesThen populate four files with configuration data.
certificate.yaml that contains the certificate issuer for your website:
apiVersion: v1
kind: Secret
metadata:
  name: cloudflare-api-token-secret
  namespace: web-services
type: Opaque
stringData:
  api-token: <your cloudflare api token>
---
apiVersion: cert-manager.io/v1
kind: Issuer
metadata:
  name: yourwebsite-letsencrypt
  namespace: web-services
spec:
  acme:
    #server: https://acme-v02.api.letsencrypt.org/directory
    server: https://acme-staging-v02.api.letsencrypt.org/directory
    privateKeySecretRef:
      name: yourwebsite-issuer-priv-key
    solvers:
    - dns01:
        cloudflare:
          email: <your email>@someurl.tld
          apiTokenSecretRef:
            name: cloudflare-api-token-secret
            key: api-token
      selector:
        dnsZones:
        - 'yourwebsite.com'
        - '*.yourwebsite.com'
Note that we start using the acme-staging environment of letsencrypt, this will allow you to quickly reacquire a certificate if something has messed up without counting against you. The production server will ban you if you make too many requests too quickly! This certificate issuer by default will update certificates that have expired and update all dependent services.
ingress.yaml that contains the configuration for dealing with requests to your website:
apiVersion: networking.k8s.io/v1
kind: Ingress
metadata:
  annotations:
    cert-manager.io/issuer: yourwebsite-letsencrypt
    kubernetes.io/ingress.class: traefik
    traefik.ingress.kubernetes.io/router.entrypoints: web, websecure
    traefik.ingress.kubernetes.io/router.tls: "true"
  name: yourwebsite-https
  namespace: web-services
spec:
  rules:
  - host: www.yourwebsite.com
    http:
      paths:
      - backend:
          service:
            name: yourwebsite
            port:
              number: 80
        path: /
        pathType: Prefix
  tls:
  - hosts:
    - www.yourwebsite.com
    secretName: yourwebsite-tls
This ingress will automatically orchestrate with the certificate issuer above to generate the certificate request and yield your signed certificate for use.
service.yaml which defines a front-end to your website for accessing it within the kubernetes cluster:
apiVersion: v1
kind: Service
metadata:
  name: yourwebsite
  namespace: web-services
  labels:
    app: yourwebsite
spec:
  type: ClusterIP
  ports:
  - port: 80
    protocol: TCP
  selector:
    app: yourwebsite
And finally, deployment.yaml that that manages a high-availability set of replicas of your website’s pod:
apiVersion: apps/v1
kind: Deployment
metadata:
  name: yourwebsite-deployment
  namespace: web-services
spec:
  selector:
    matchLabels:
      app: yourwebsite
  replicas: 2 # tells deployment to run 2 pods matching the template
  template:
    metadata:
      labels:
        app: yourwebsite
    spec:
      containers:
      - name: nginx
        image: nginx:1.23.1
        ports:
        - containerPort: 80
        # imagePullPolicy: Always # once you are using your own container uncomment this line
Here we just use the stock nginx container, which will be sufficient for demonstrating that everything is working!
With all the configuration defined we are ready for a trial deployment of the website! Leave the directory you’ve defined your configurations in and then do:
k3sctl apply -f website/If you then run:
k3sctl get all -n web-servicesYou should see the following response once the server components are completely up and running:
NAME                                            READY   STATUS    RESTARTS   AGE
pod/meanphysicist-deployment-7d4b97685f-zqsw4   1/1     Running   0          90s
pod/meanphysicist-deployment-7d4b97685f-tcclc   1/1     Running   0          50s

NAME                    TYPE        CLUSTER-IP    EXTERNAL-IP   PORT(S)   AGE
service/meanphysicist   ClusterIP   10.43.29.87   <none>        80/TCP    17h

NAME                                       READY   UP-TO-DATE   AVAILABLE   AGE
deployment.apps/meanphysicist-deployment   2/2     2            2           17h

NAME                                                  DESIRED   CURRENT   READY   AGE
replicaset.apps/meanphysicist-deployment-7d4b97685f   2         2         2       91s
Now we need to check to make sure the certificate is being properly issued and configured. To check this run:
k3sctl get certificate -n web-servicesand you should see something like
NAME                READY   SECRET              AGE
meanphysicist-tls   True    meanphysicist-tls   17h
It may say “False” if it is still in the process of requesting the signed certificate. This can take a couple minutes. If the certificate remains in the false state for more than 10 minutes there is a problem and you should make sure that you are properly forwarding ports 80 and 443 to your cluster’s traefik endpoint, this is the most likely cause for trouble.
Once the certificate flips into the True state this means we can request a production certificate safely.
Edit the certificate.yaml file to use the production servers by uncommenting production line and commenting the staging line:
  acme:
    server: https://acme-v02.api.letsencrypt.org/directory
    #server: https://acme-staging-v02.api.letsencrypt.org/directory
Then:
k3sctl delete -f website/
k3sctl apply -f website/
and wait for the Certificate to flip over to True again.
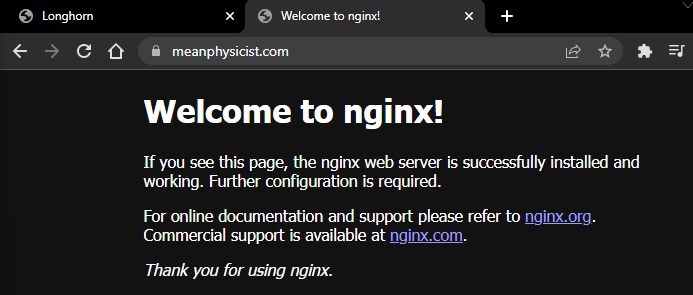
At this point you should see the nginx default page show up at your website’s URL and verification from your browser that you are using an SSL certificate signed by a trusted authority. It should look something like Figure 6.
If you’ve made it to the end, congratulations for setting up your own webserver with end-to-end encryption and thanks for sticking with me through it all!
Footnotes
-
Note that cloudflare will also help you register a domain and automatically set itself up. ↩
-
There are a variety of ways to do this, determining your IP and making sure everything is OK with your ISP is an exercise left to the reader! ↩
-
We don’t actually use this in this series of posts but it’s very useful to have. ↩